

We share easy recipes your whole family will love!
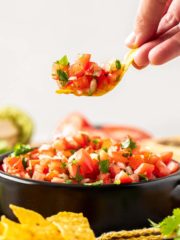
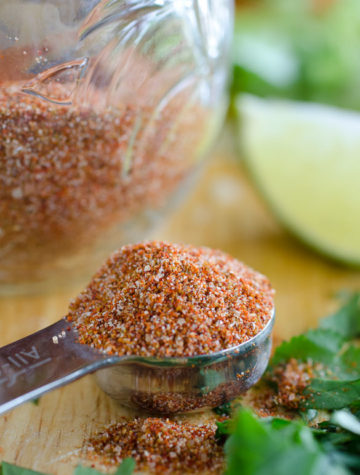
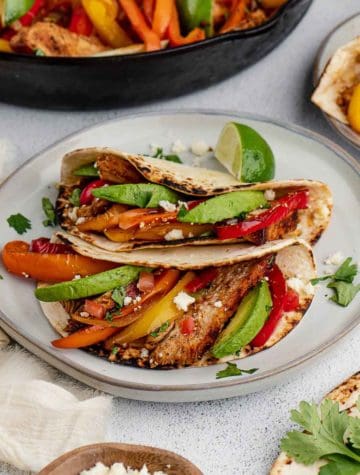
Cinco de Mayo Recipes
From our favorite salsa to taquitos and easy tacos, we've got you covered for Cinco de Mayo! Don't forget dessert!


See more Recipes for Cinco de Mayo →
Fresh From Our Table

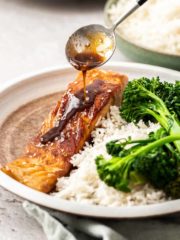
Easy Dinner Recipes
Try our easy dinner ideas on your busiest of nights! Our favorite quick dinner recipes include Almond Crusted Pork Chops, Sloppy Joe Noodle Skillet, and Sheet Pan Kielbasa with Veggies.


See more Easy Dinner Recipes →
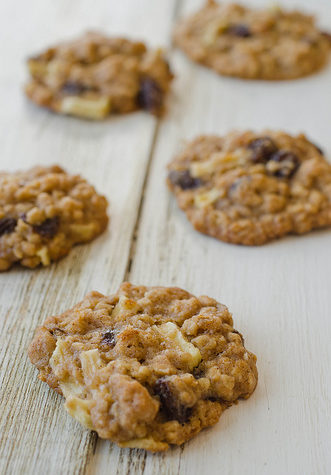
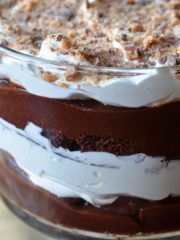
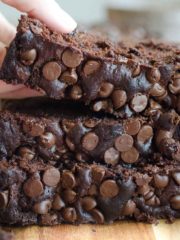
Best Desserts
We love dessert, so why not try our best desserts like No Bake Cookies, Strawberry Marshmallow Angel Cake, or Death by Chocolate Trifle.


See more best desserts →
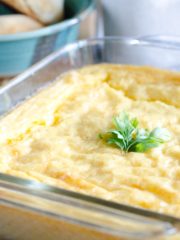
Family Favorite Breakfast Recipes
Breakfast is the most important meal of the day so give your family the best! Browse our favorite easy recipes for breakfast like Easy Crepes, Cheese Grits, and Easy Breakfast Casserole.


See more favorite breakfast recipes →

About Seeded At The Table
Thanks for visiting! We’re the Gladd family! We love donuts, Disney, LEGO and Jesus. Not in that order, of course. 🙂 Ben shares DIY wood-working projects and Nikki shares delicious recipes. You’ll also find a sprinkling of travel adventures and other family fun ideas!